
SoraHealth
Things used in this project
Hardware components

|
Wio LTE US Version - 4G, Cat.1, GNSS, JavaScript(Espruino) Compatible | × 1 |

|
Grove starter kit plus for Intel Edison | × 1 |
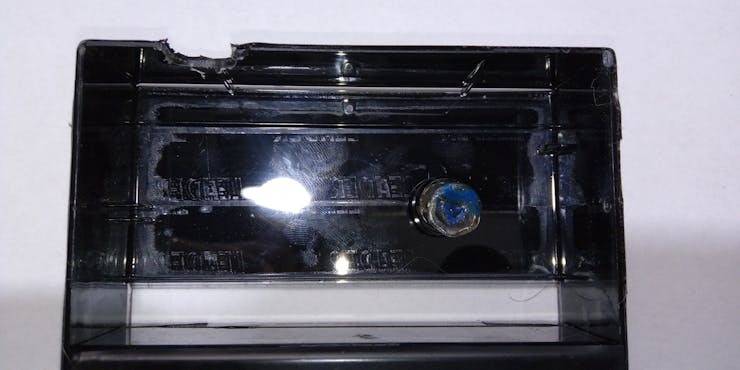
| Cassete Case | × 1 | |

|
SORACOM Air Global IoT SIM | × 1 |
Software apps and online services

|
Arduino IDE | × 1 |

|
SORACOM Funnel | × 1 |

|
AWS IoT | × 1 |

|
AWS Lambda | × 1 |

|
AWS SNS | × 1 |
Hand tools and fabrication machines

|
Drill / Driver, Cordless | × 1 |
Story
Measuring blood sugar is not the only way in which a person can detect that it has this high level, there are times when a person detects symptoms in themselves that are not normal and these can trigger a more serious problem, such as fainting or a stroke.If someone detects that the sugar level is high, the best thing to do is take medication to lower it, however this may be counterproductive in some cases, because these medications can lower the level of sugar so much that it could be mortal.If only there was an easier, more natural way of tracking that even outside your home, patients that sometimes have relapses and periods when they need help fast. More so when they are outside, but even at home and in a greater degree if they are elders.For this problem the answer is simple. When there is nothing else to do, asking for help quickly is the best solution to the problem, so that's why I decided to create SoraHealth, a device with the ability to send a notification to get help quickly by just pressing a button.
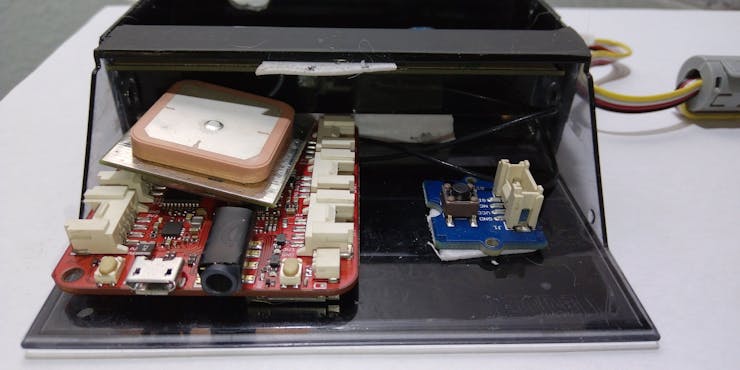
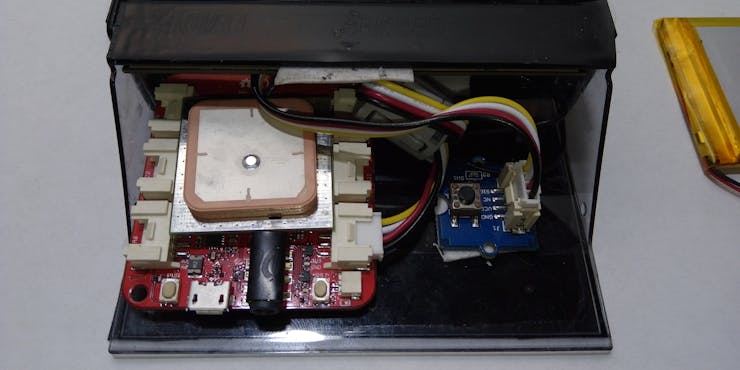
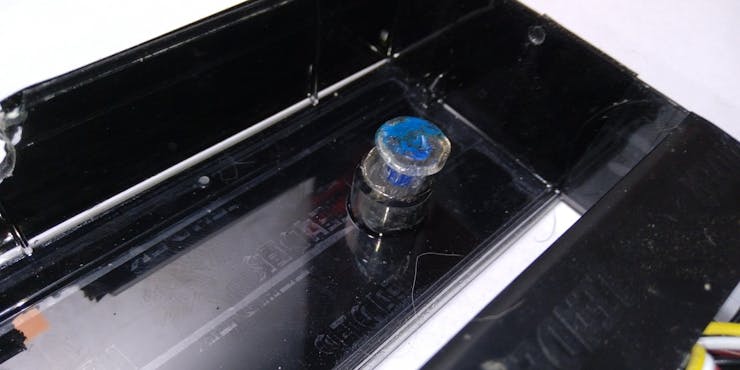
Setup Wio Module:The module is so simple and easy to install, that we just have to connect everything to the WIO and that's it! Here's an image of how it looks when it's ready!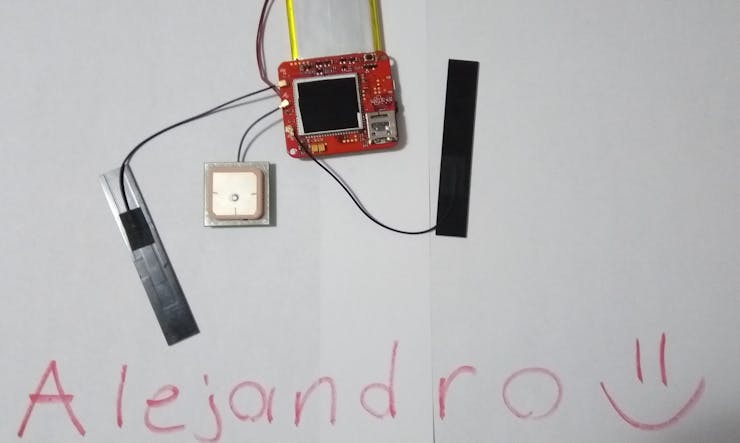 PC Configuration:(All these steps are directly in the official guide http://wiki.seeedstudio.com/Wio_LTE_Cat.1/#getting-started)
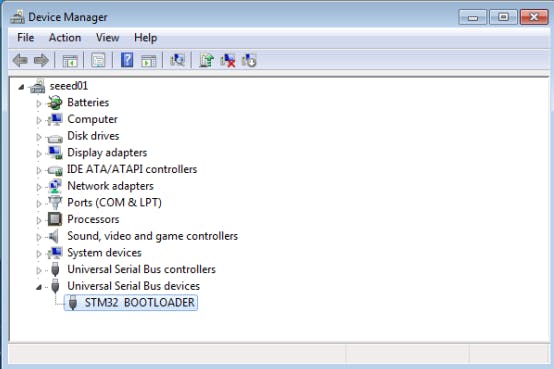
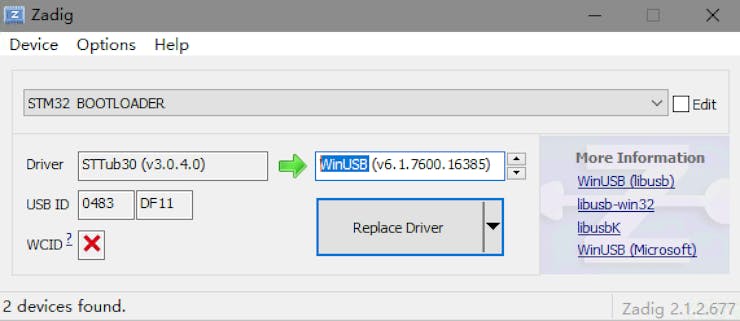
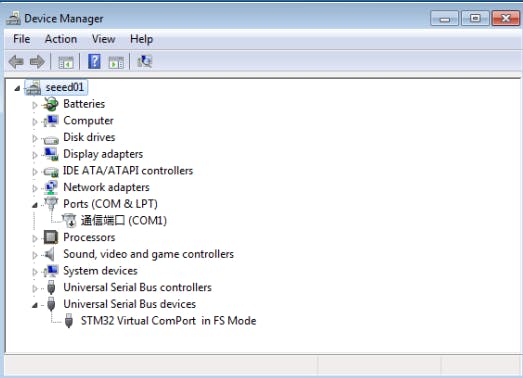
Windows Users: Most versions of Windows won't automatically load the built-in driver for USB com ports. You'll have to download ST's USB driver:Non-Windows XP Users download version 1.4.0 drivers. Unzip the file, run the executable, and then go to C:\Program Files (x86)\STMicroelectronics\Software\Virtual comport driver in Windows Explorer and double-click either dpinst_amd64.exe for 64 bit systems, or dpinst_x86.exe for 32 bit.Windows XP Users download version 1.3.1 drivers. Unzip the file, run VCP_V1.3.1_Setup.exe, and then go to C:\Program Files\STMicroelectronics\Software\Virtual comport driver in Windows Explorer and double-click the executable.Linux users to ensure that you have the correct permissions to connect as a normal user you'll need to copy the file 45-espruino.rules to /etc/udev/rules.d, reload rules with udevadm control --reload-rules, and ensure your user is in the plugdev group (you can check by typing groups). You add it by typing sudo adduser $USER plugdev and then logging out and back in. Arch Linux users need to add their user to uucp and lock groups instead.Mac OS X and Chromebook Users: The board will just plug in and work, without drivers!
 Arduino IDE Setup:Install Arduino IDE, recommand IDE version upon 1.8.0.https://www.arduino.cc/en/Main/SoftwareFollow
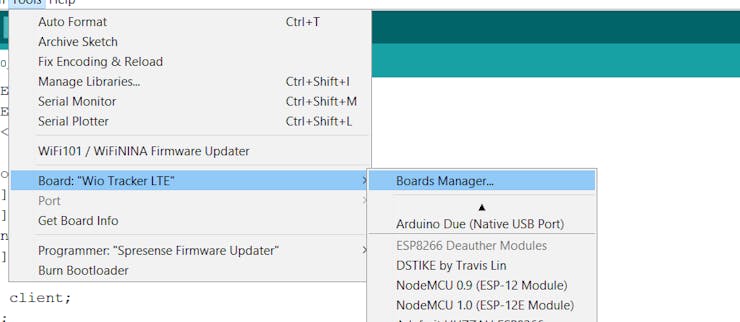 Add an imageDelete this imageDownload the Wio_LTE Library from Github.https://github.com/Seeed-Studio/Wio_LTE_Arduino_Library
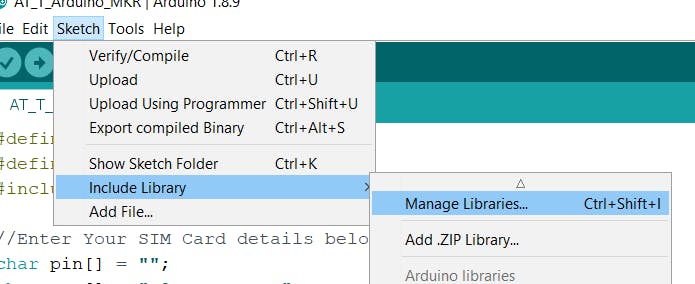 Refer How to install library to install library for Arduino.http://wiki.seeedstudio.com/How_to_install_Arduino_Library/Arduino Code:
The Arduino code is in the Arduino Code folder, however the most important parts are the following.This is the Pin that accepts interruptions.
#define BUTTON_PIN (WIOLTE_A4)Volatile variables to control the interruption of the button.
volatile bool StateChanged = false;volatile bool State = false;We create an interruption by falling edge.
attachInterrupt(BUTTON_PIN, change_state, FALLING);Through this command we send our location in real time once we press the button, this information will serve us later in AWS to send it as a google maps link.
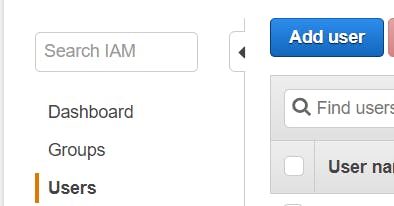
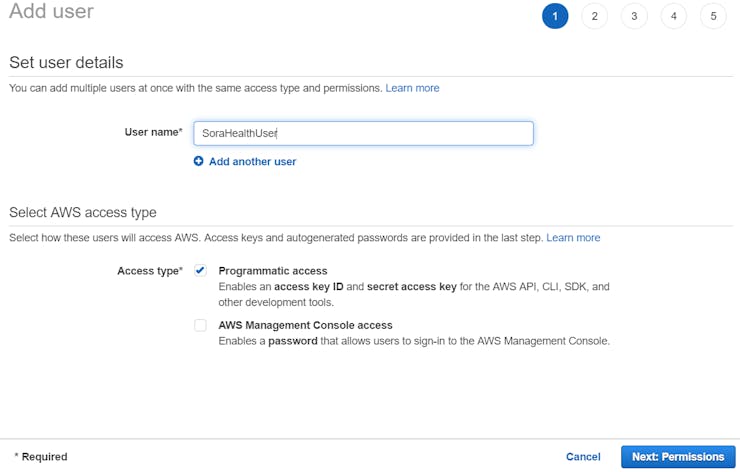
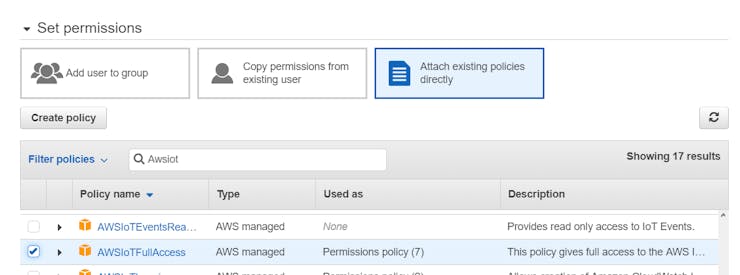
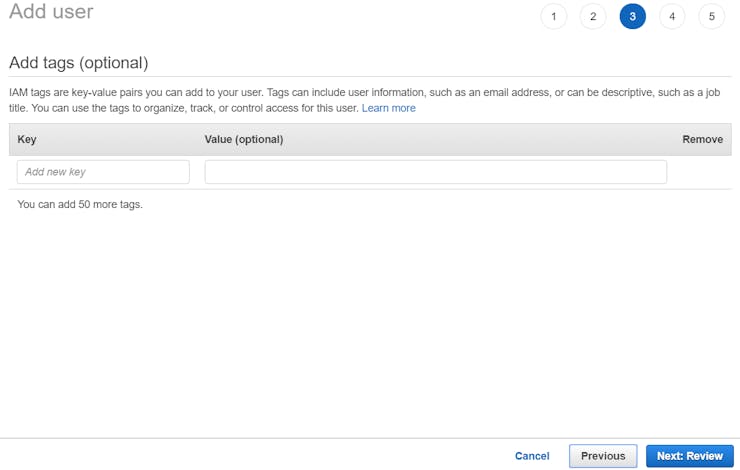
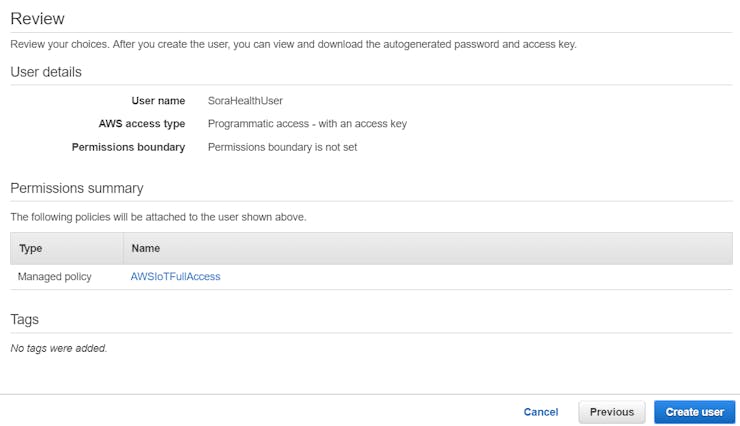
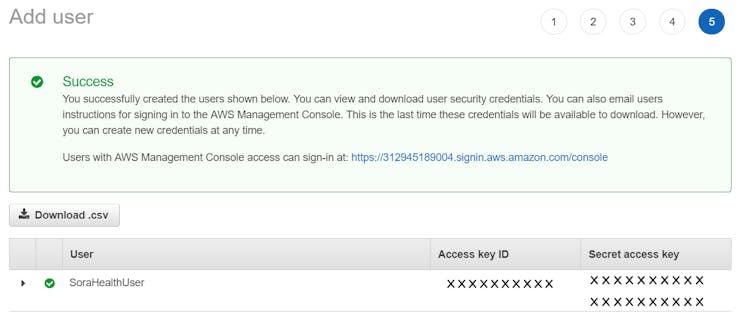
sprintf(data, "{\"lat\":\"%d\",\"lon\":\"%d\"}",gnss.latitude,gnss.longitude); AWS IAM Setup:Note: it is important to clarify that the data will be sent to the Soracom platform, however the AWS credentials are necessary to configure it correctly and the AWS IoT endpoint url, so first we will show how to configure the AWS IAM credentials, after Soracom Console and at the end the rest of AWS services.
 AWS IoT Setup:
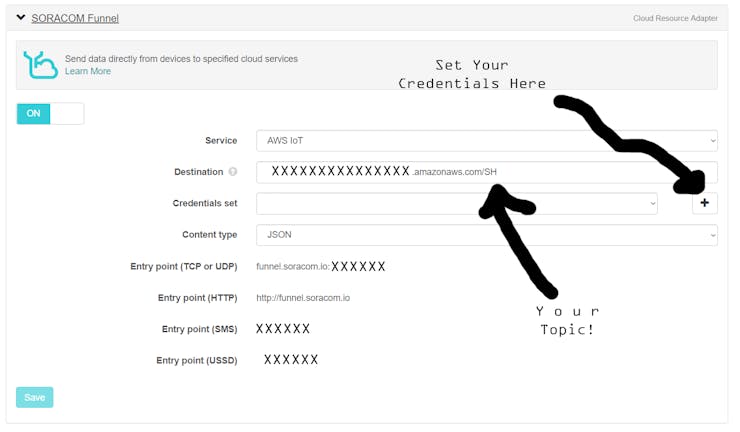
 Soracom Console:
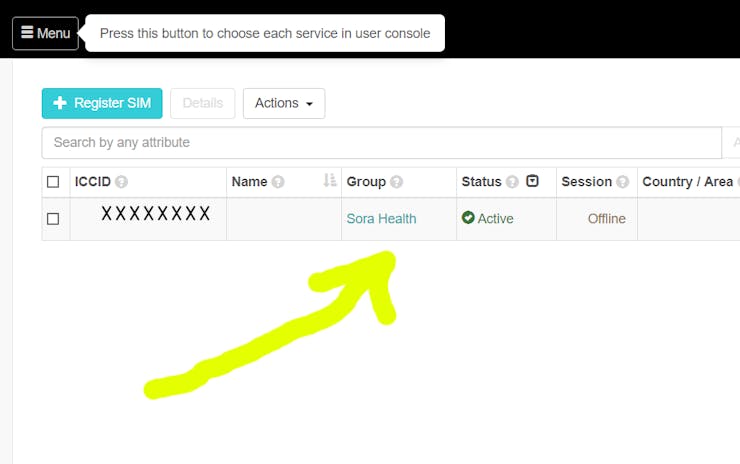
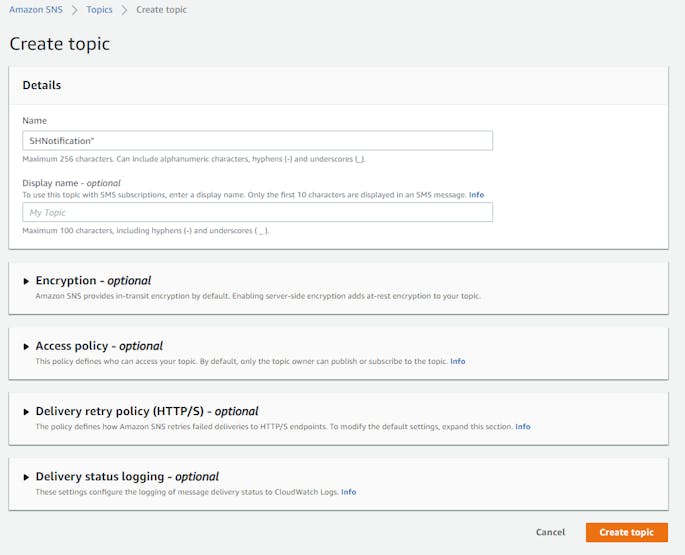
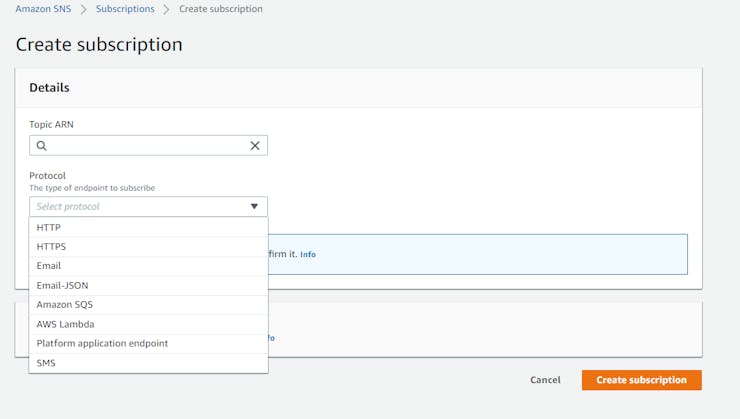
 AWS Setup:
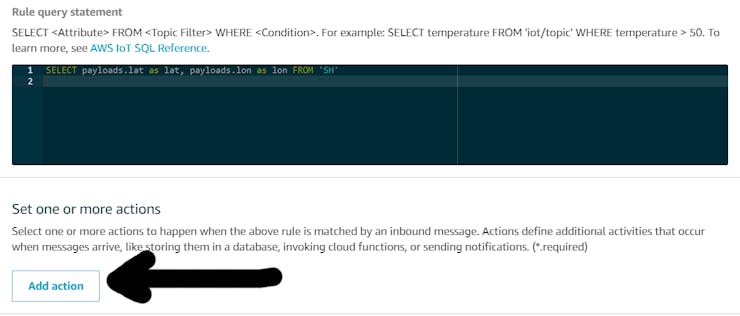
Note: this is SQL language.
SELECT payloads.lat as lat, payloads.lon as lon FROM 'SH'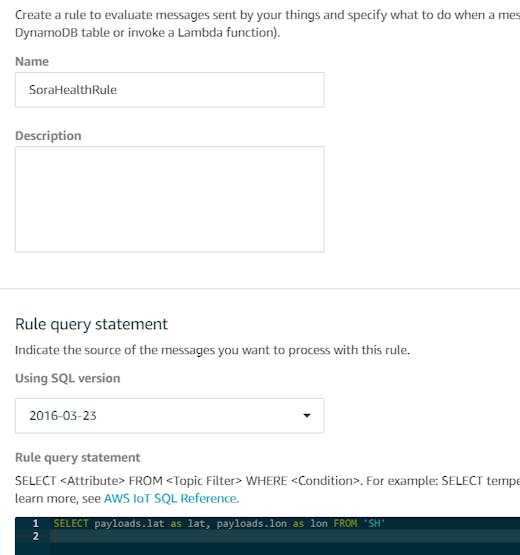
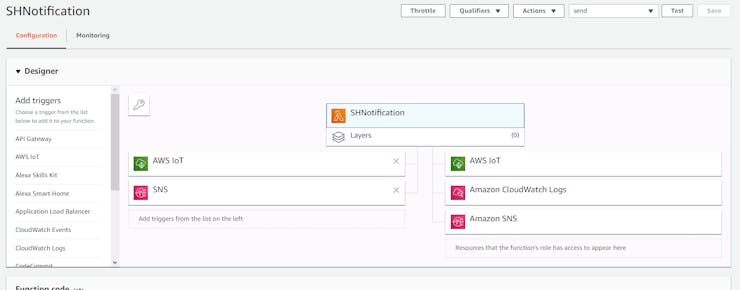
 Lambda Function:console.log('Loading function');
// Load the AWS SDK
var AWS = require("aws-sdk");
// Set up the code to call when the Lambda function is invoked
exports.handler = (event, context, callback) => {
// Load the message passed into the Lambda function into a JSON object
var eventText = JSON.parse(JSON.stringify(event, null, 2));
// Log a message to the console; you can view this text in the Monitoring tab in the Lambda console or in the CloudWatch Logs console
// Create a string, extracting the click type and serial number from the message sent by the AWS IoT button
// Write the string to the console
var latitude=parseInt(eventText.lat)
var longitude=parseInt(eventText.lon)
// Create an SNS object
var sns = new AWS.SNS();
console.log("Received event:"+"https://www.google.com.mx/maps/@"+ eventText.lat +","+eventText.lon);
var params = {
Message: ("https://www.google.com.mx/maps/@"+ eventText.lat +","+eventText.lon+",18.25z"),
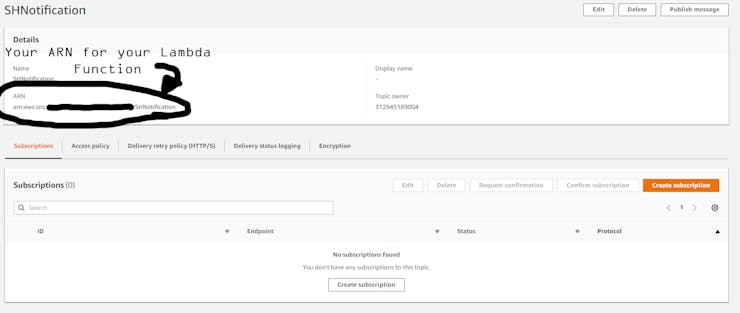
TopicArn: "arn:aws:sns:XXXXXXXXXXXXXX:XXXXXXXXXXXXXX:SHNotification"
};
sns.publish(params, context.done);
};
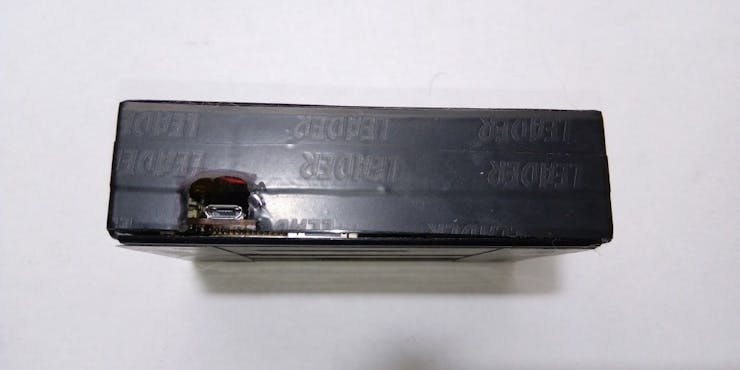
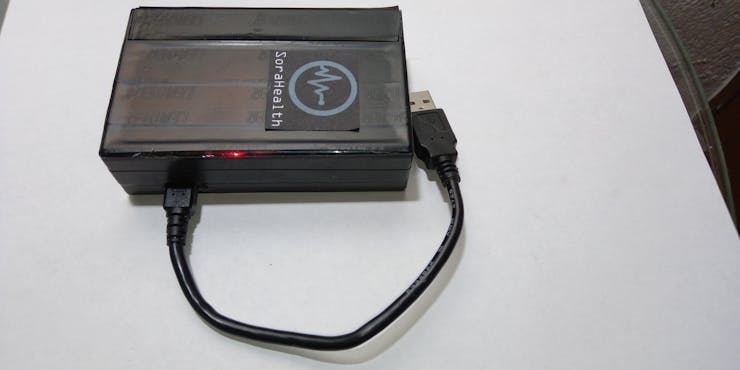
The Final Product:
Lambda Function:console.log('Loading function');
// Load the AWS SDK
var AWS = require("aws-sdk");
// Set up the code to call when the Lambda function is invoked
exports.handler = (event, context, callback) => {
// Load the message passed into the Lambda function into a JSON object
var eventText = JSON.parse(JSON.stringify(event, null, 2));
// Log a message to the console; you can view this text in the Monitoring tab in the Lambda console or in the CloudWatch Logs console
// Create a string, extracting the click type and serial number from the message sent by the AWS IoT button
// Write the string to the console
var latitude=parseInt(eventText.lat)
var longitude=parseInt(eventText.lon)
// Create an SNS object
var sns = new AWS.SNS();
console.log("Received event:"+"https://www.google.com.mx/maps/@"+ eventText.lat +","+eventText.lon);
var params = {
Message: ("https://www.google.com.mx/maps/@"+ eventText.lat +","+eventText.lon+",18.25z"),
TopicArn: "arn:aws:sns:XXXXXXXXXXXXXX:XXXXXXXXXXXXXX:SHNotification"
};
sns.publish(params, context.done);
};
The Final Product: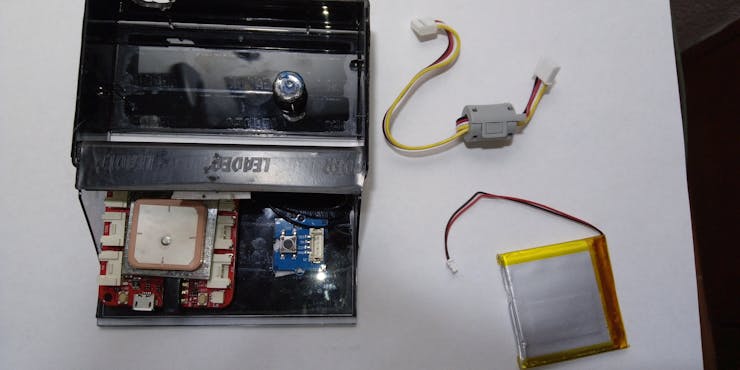

 Demo Time: